Connect a card reader
Who: manager or Admin. When: a new Stripe card reader arrives, or a register needs a different reader.
Each register uses one card reader. One reader can serve several registers at the same outlet.
Quick version
POS › Card readers › Add card reader › type the reader's pairing code › Find card reader › pick the register › Connect.
Before you begin
- Turn the reader on.
- Connect it to Wi-Fi or Ethernet.
1. Open Card readers
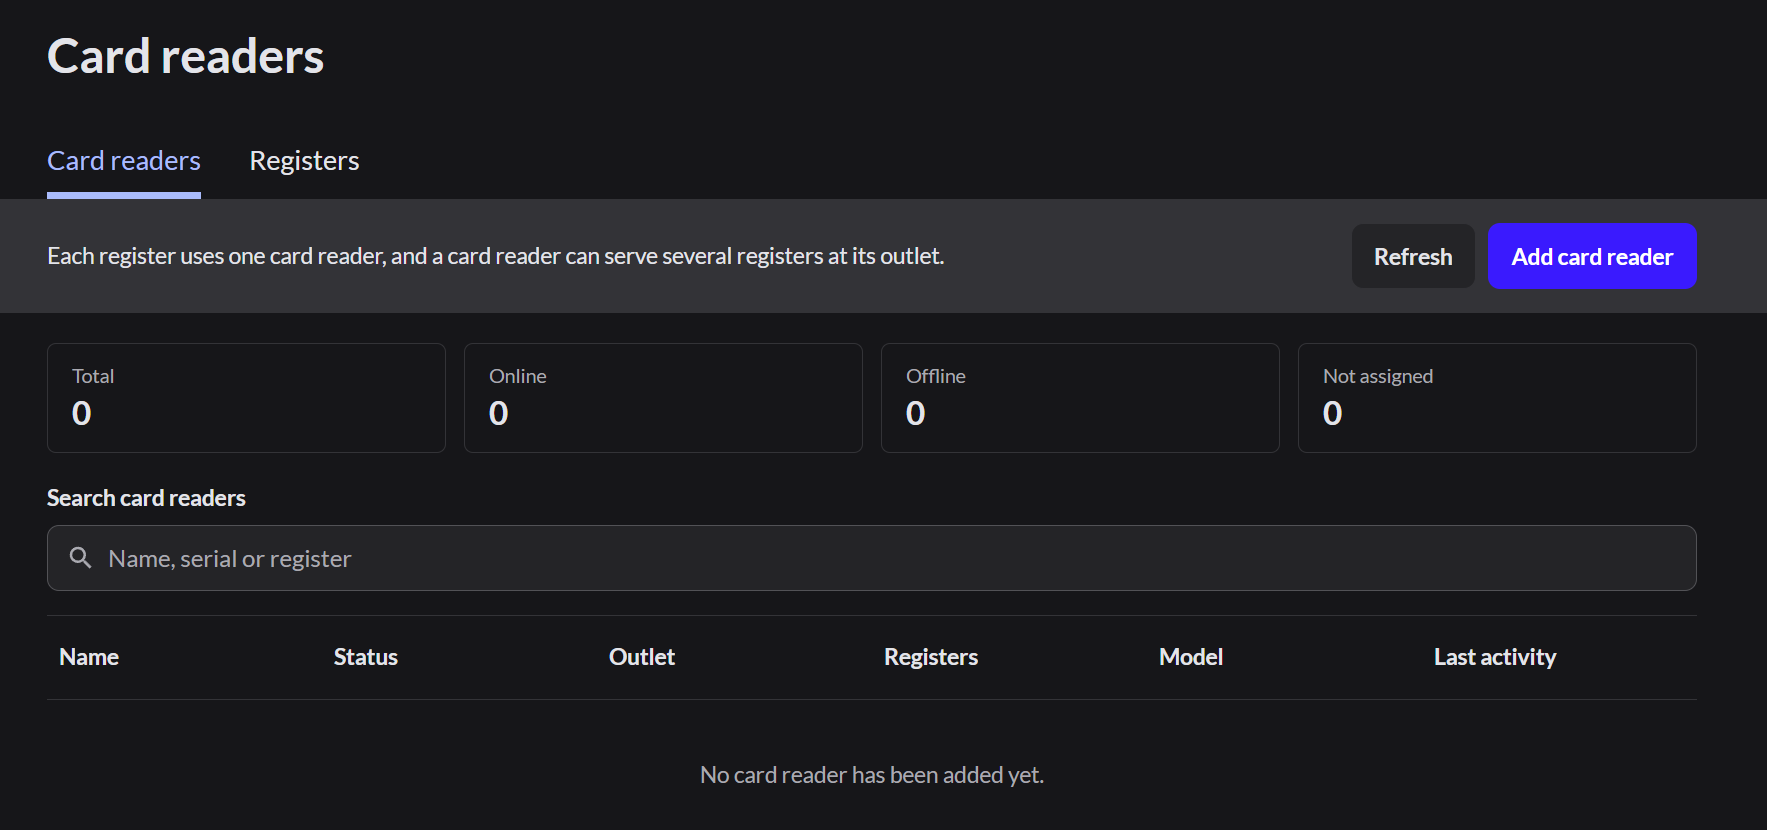
Go to POS › Card readers and click Add card reader.
2. Get the pairing code from the reader
On the reader itself:
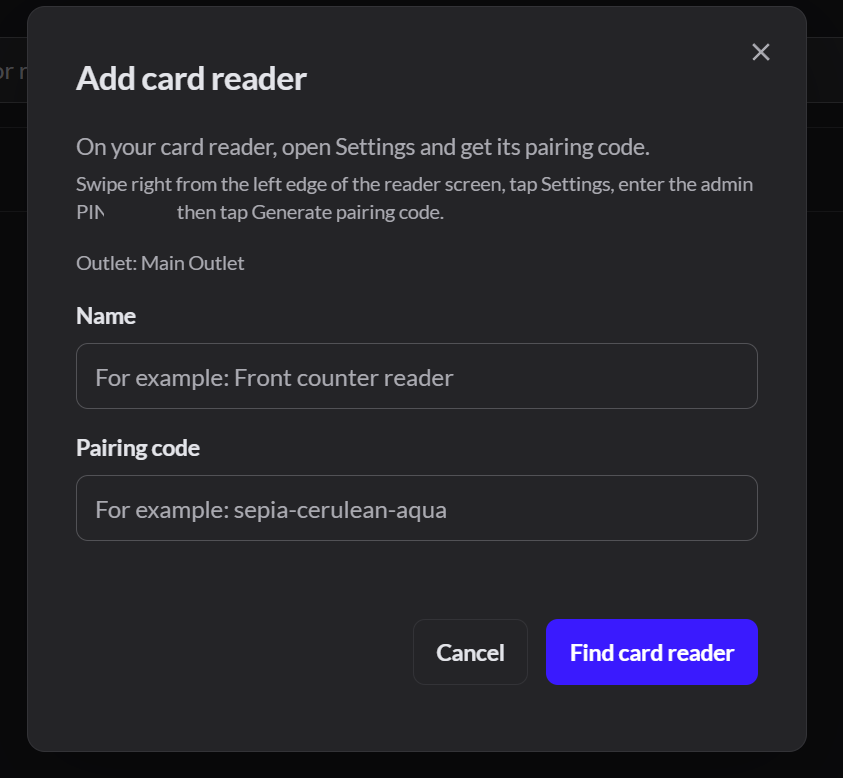
- Swipe right from the left edge of the screen.
- Tap Settings.
- Enter the reader's admin passcode. Unless your Stripe account has set its own, it's the one shown in the Add card reader box. If the reader doesn't accept it, ask whoever manages your Stripe account.
- Tap Generate pairing code.
The code is three words, like sepia-cerulean-aqua.
3. Find the reader
Give the reader a name, such as Front counter reader. Type the pairing code and click Find card reader.
4. Connect it to a register
When it says Reader found, choose the Register it belongs to and click Connect.
Check that it works
- The top bar of that register stops saying No card reader.
- On the Registers tab of the Card readers page, the register's Ready for cards? column no longer says Needs attention.
If the reader shows as offline, check that it's on and connected to the network. You can still finish connecting it. It comes online later.
Give a register a different reader
- Go to POS › Card readers and open the Registers tab.
- Click Assign card reader (or Change card reader if it already has one) next to the register.
- Pick the reader and click Assign.