Count stock and receive deliveries
Who: cashier or manager. Cashiers can do this unless an Admin has turned it off. When: you check what's on the shelves, or a delivery arrives.
Quick version
Count: Inventory › Inventory counts › Add inventory count › Start count › scan › Review › Complete. Delivery: Inventory › Stock control › open the order › Receive stock.
Count your stock
- Go to Inventory › Inventory counts and click Add inventory count.
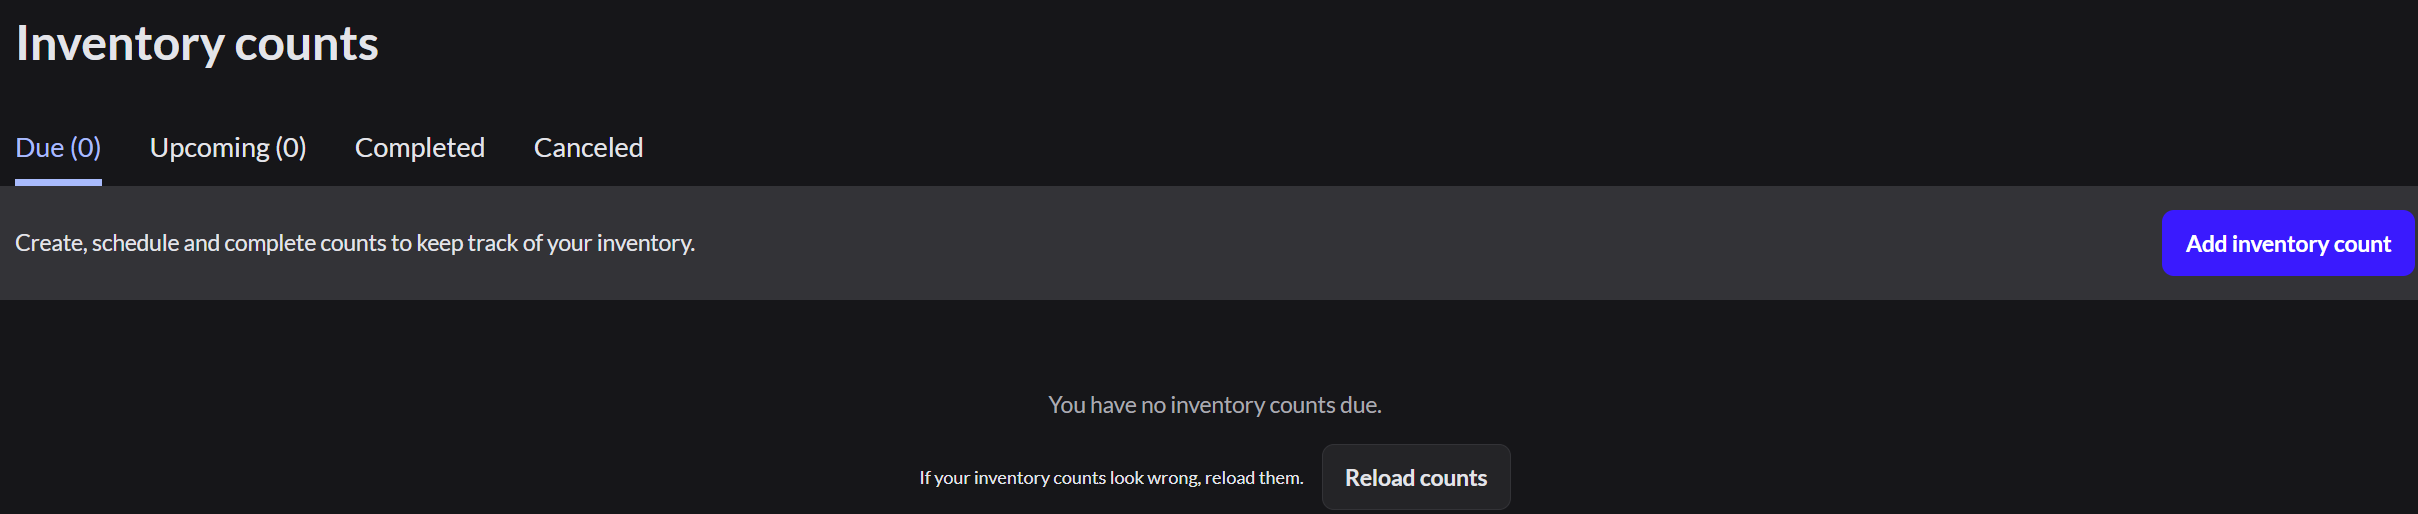
- Check the Outlet and Count name.
- Choose Full count to count everything, or Partial count to choose products. For a partial count, search for each product and add it.
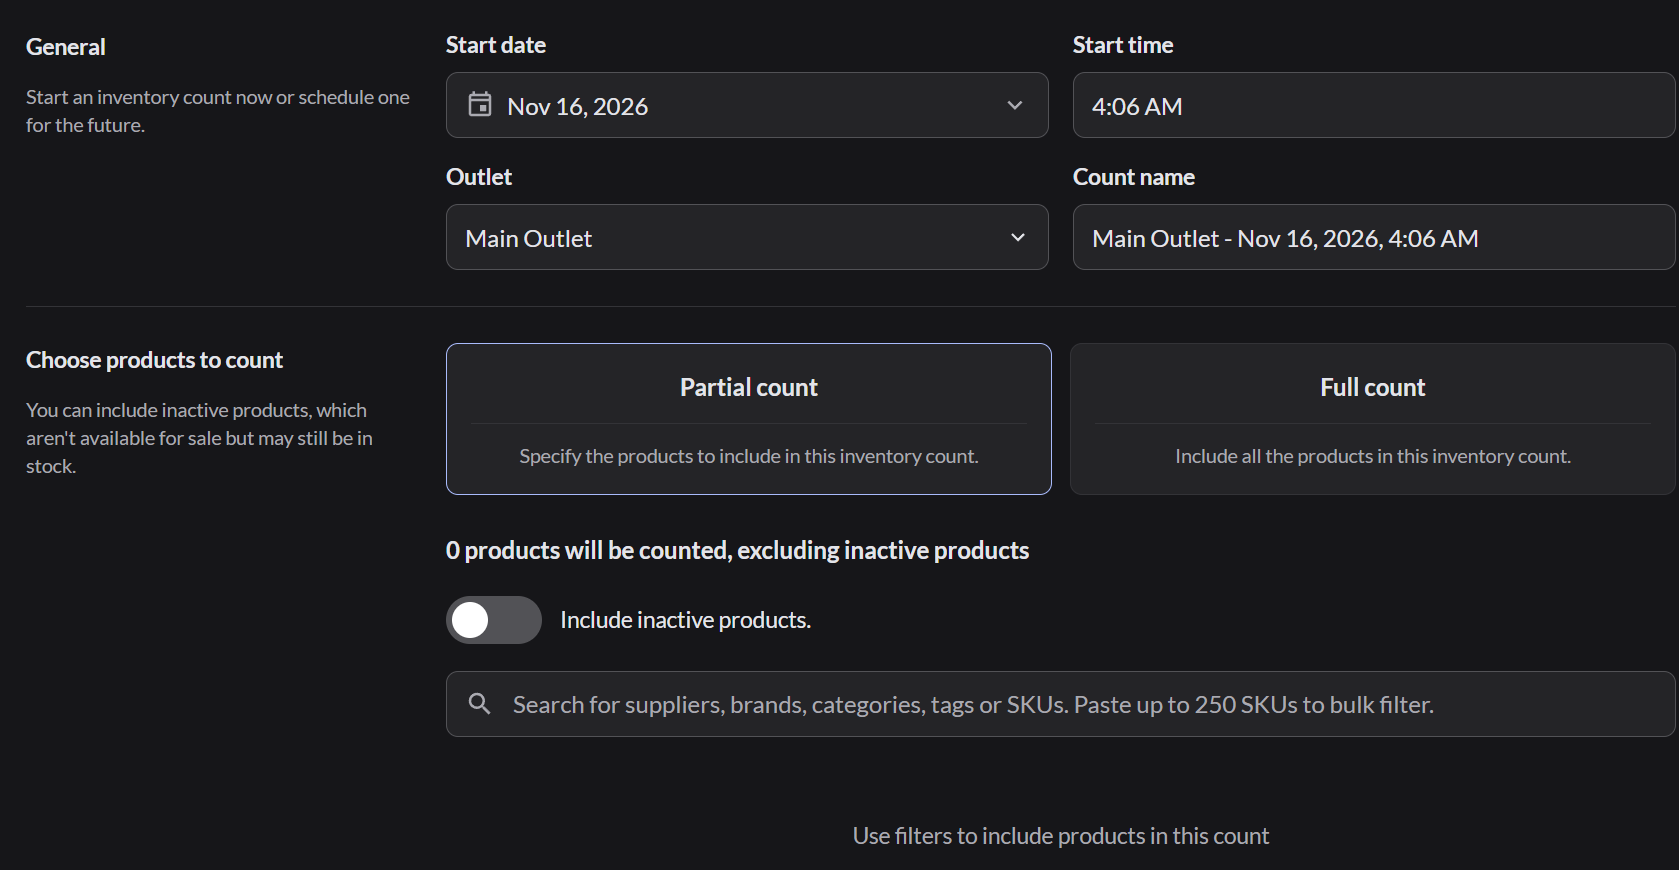
- Click Start count. To start it later, click Save and exit instead.
- Scan each item. With Quick scan mode on, each scan adds 1. To type a number, turn off Quick scan mode, search for the product, type the Quantity and click Count.
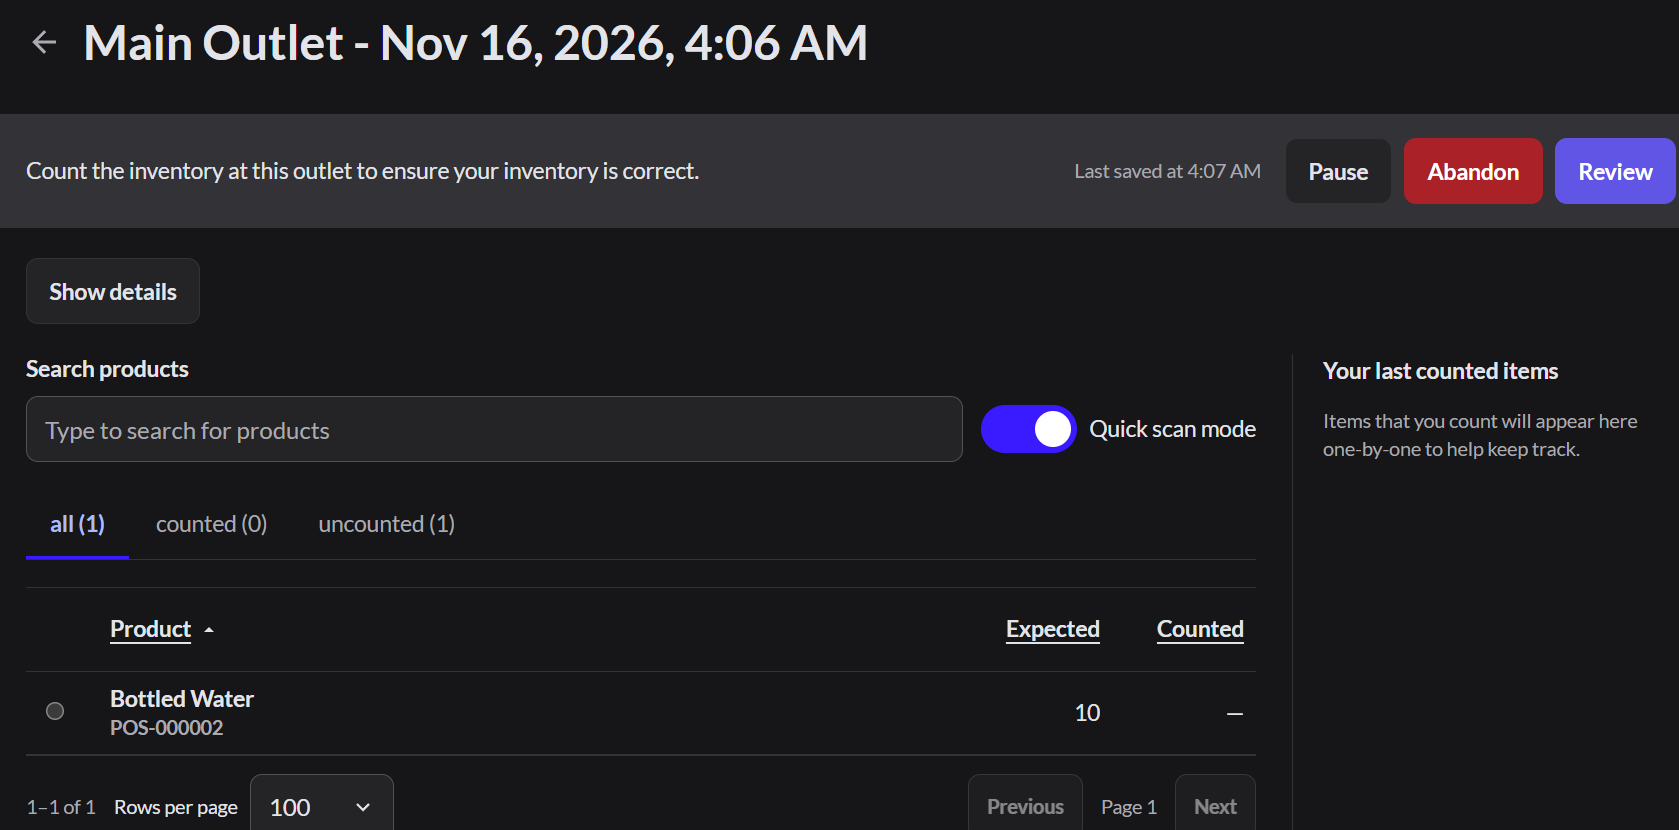
- Click Review. The Unmatched tab lists products where your count is different from what's expected. Inventory adjustment shows the total change.
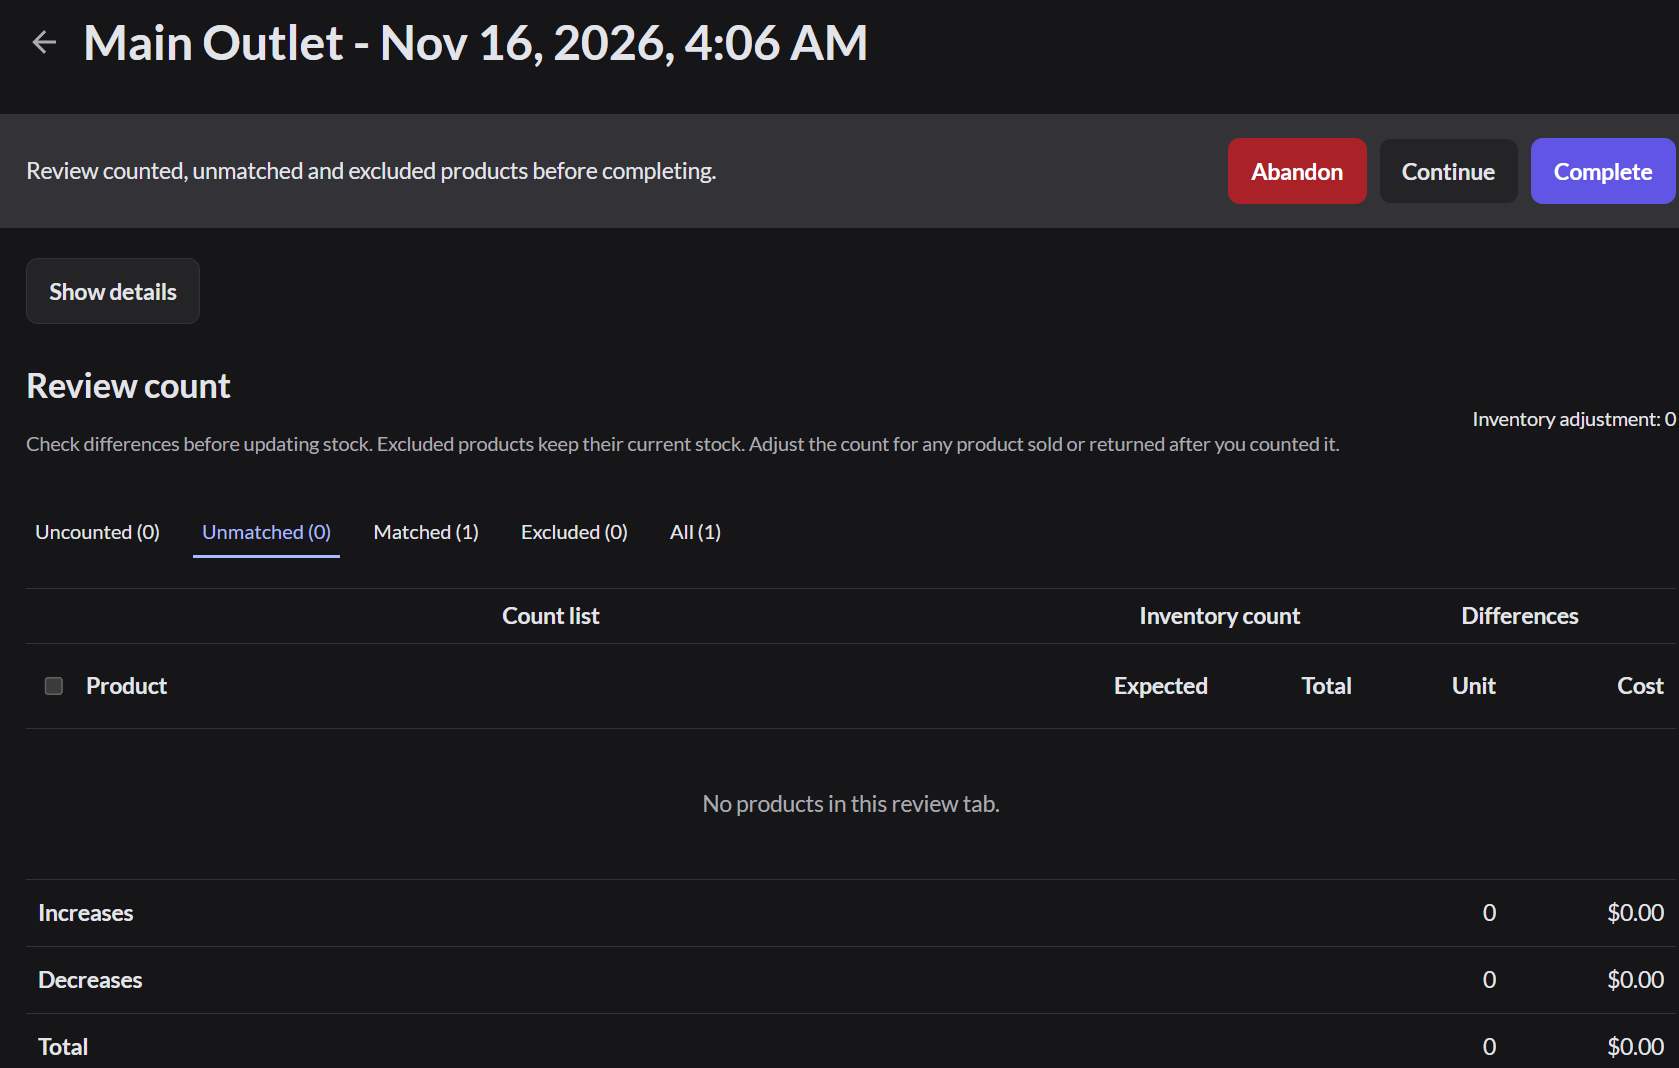
- Click Complete, then Submit.
Products in the count that you didn't count are set to zero, unless you exclude them on the review screen. This can't be undone.
To stop partway, click Pause and finish later from the list. To throw the count away, click Abandon.
Each count adds to the product's total. To start a product over, click Review, tick it, then click Choose an action › Recount items.
Order stock
- Go to Inventory › Stock control and click Order stock.
- Choose the Supplier. You must choose one.
- Check Ordering for and Deliver to, then search for each product and type the Quantity.
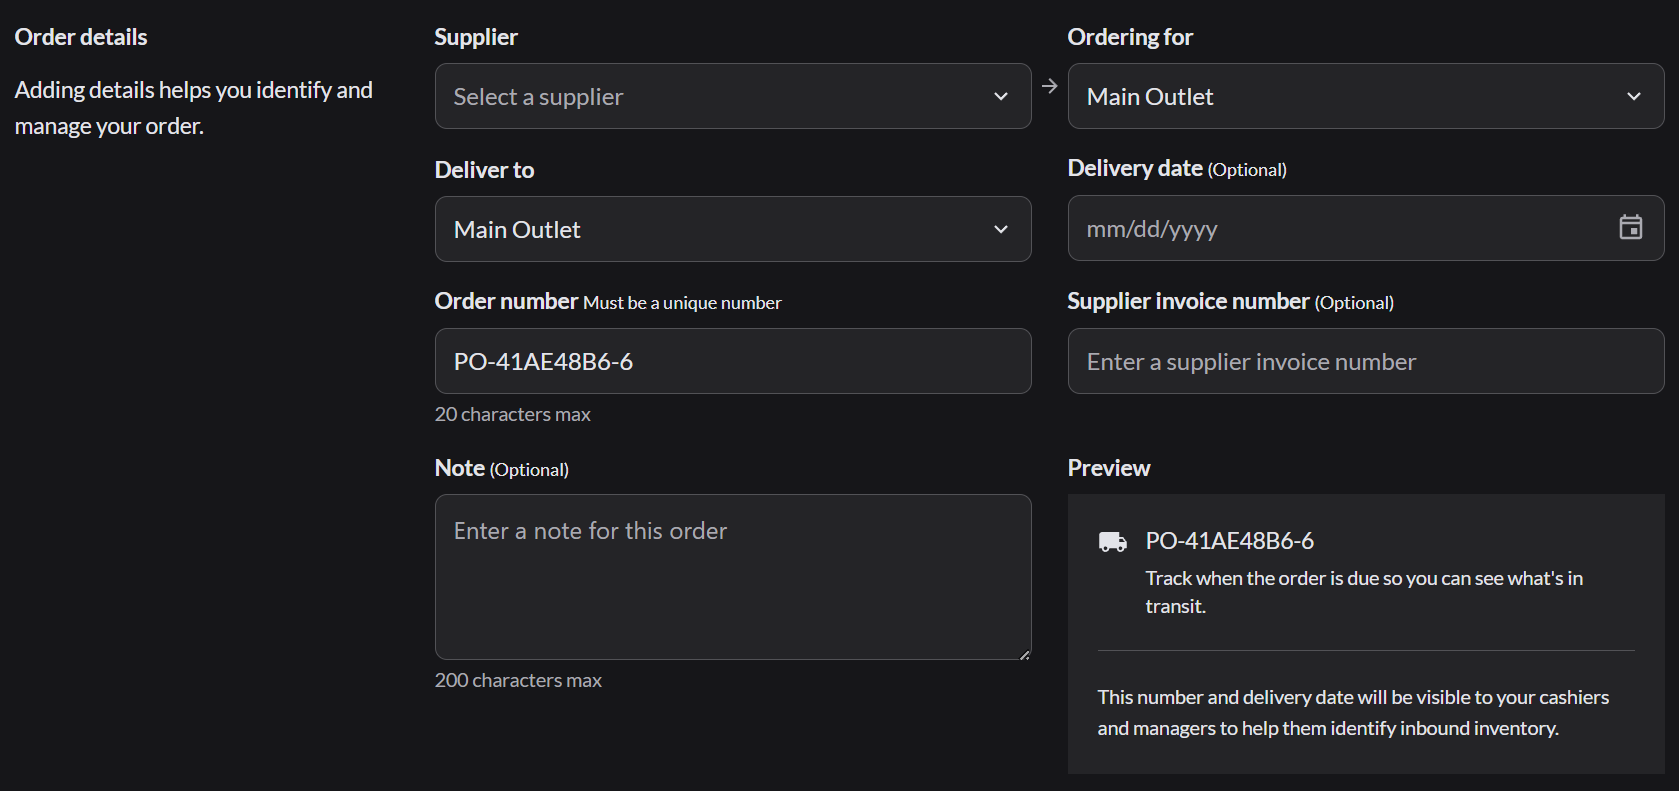
- Click the arrow next to Save and choose Save as Sent once you've ordered from the supplier.
The order then shows Status: Sent, with Receive stock, Mark as Dispatched and Cancel document.

Receive a delivery
- In Inventory › Stock control, open the order and click Receive stock. Click Continue.
- Type the Received quantity for each product, or click Receive all ordered products.

- Click Receive, then Receive delivery. The stock is added. This can't be undone.
After that, you can click Print delivery or Email delivery.
Send stock back to a supplier
Supplier returns are only in Retail mode.
- In Inventory › Stock control, open the Returns tab and click Return stock.
- Choose the supplier in Deliver to, and the delivery in Original receipt.
- Type a Name / reference, then search for each product and type the Quantity.
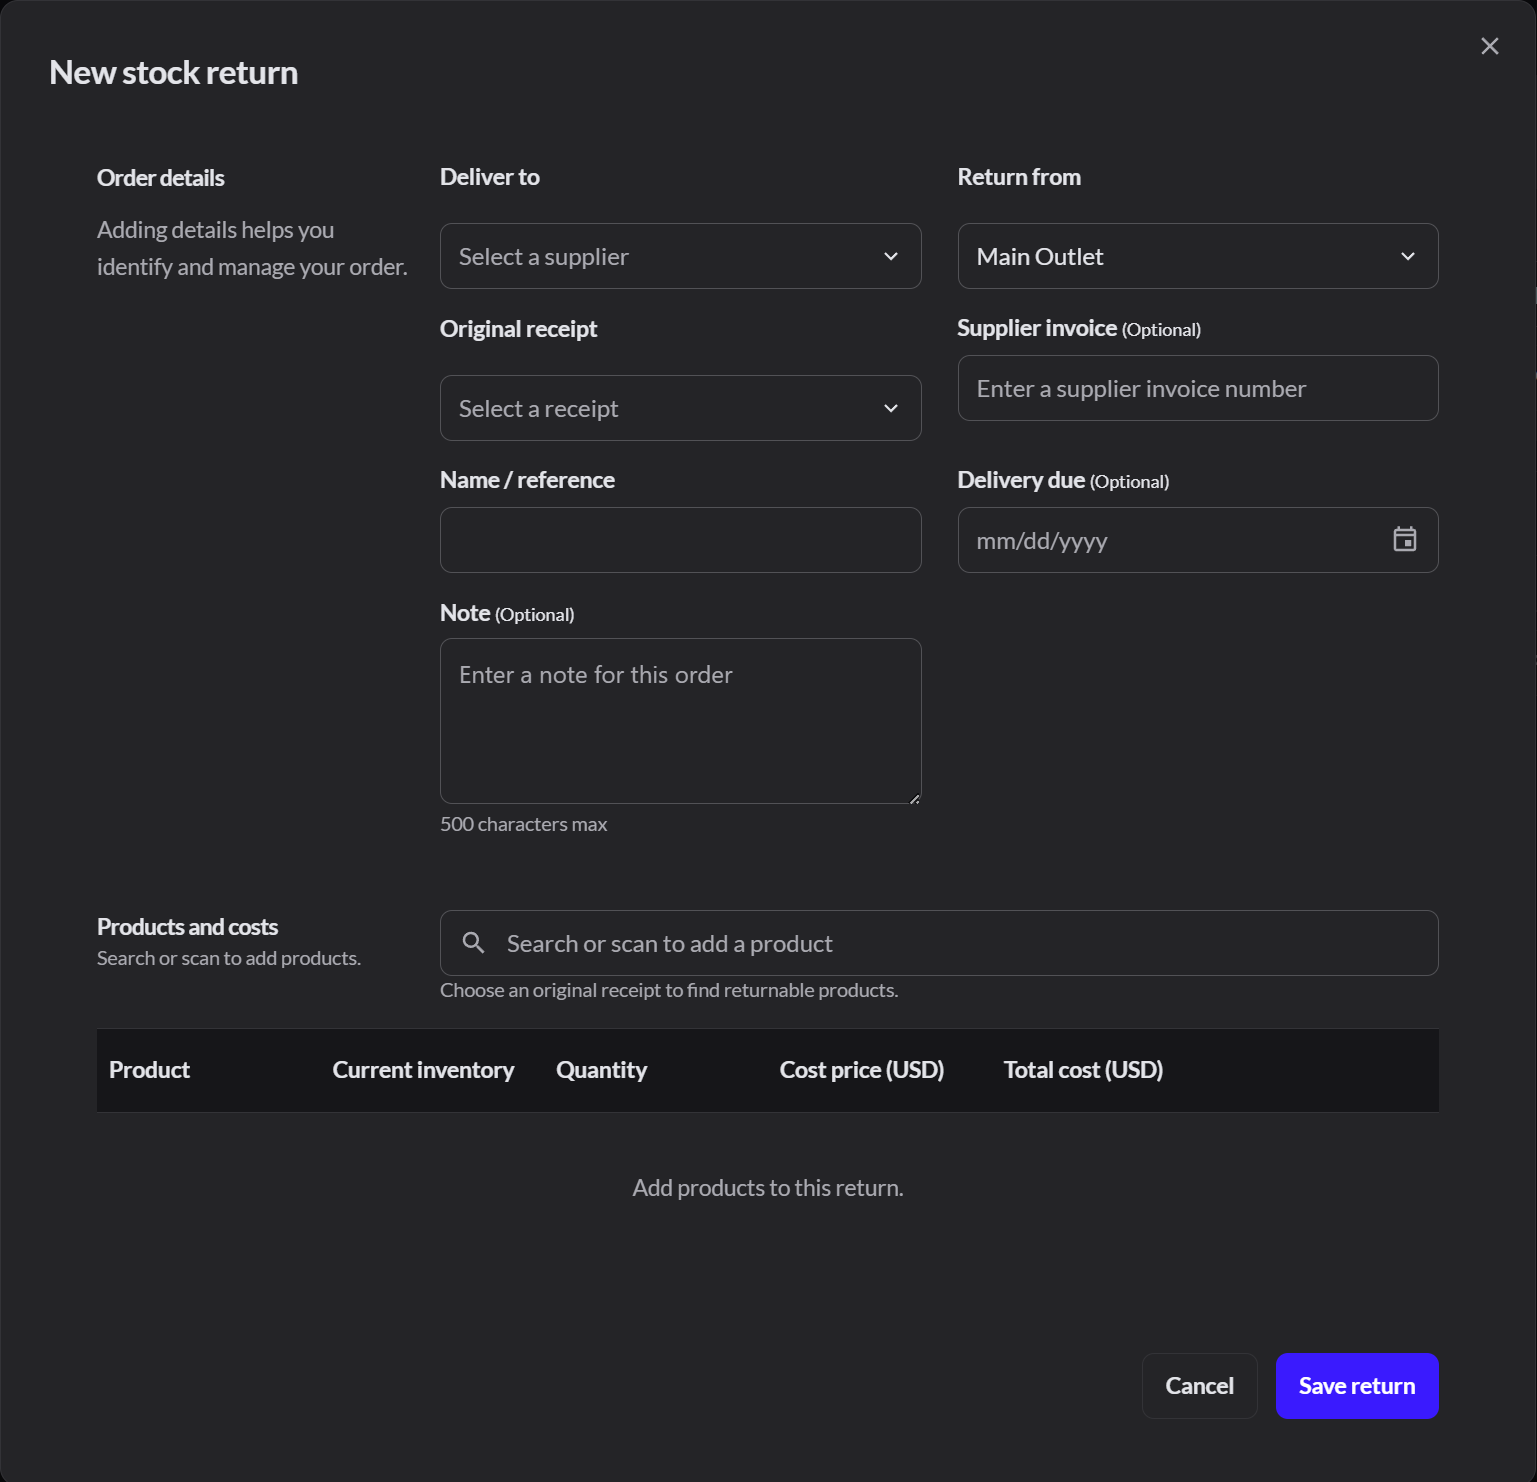
- Click Save return, then Send return, then Send. The stock comes off your inventory.
Adjust stock by hand
Use this for a damaged, missing or found item. Your role must allow Manually adjust inventory.
- Go to Catalog › Products and click the arrow next to the product.
- Click Adjust inventory.
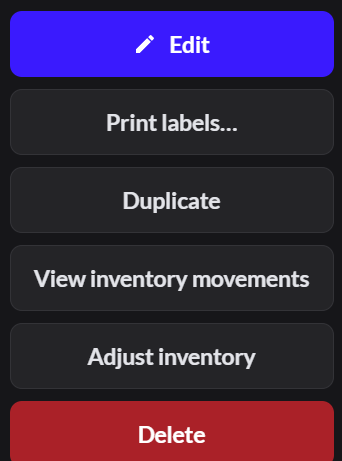
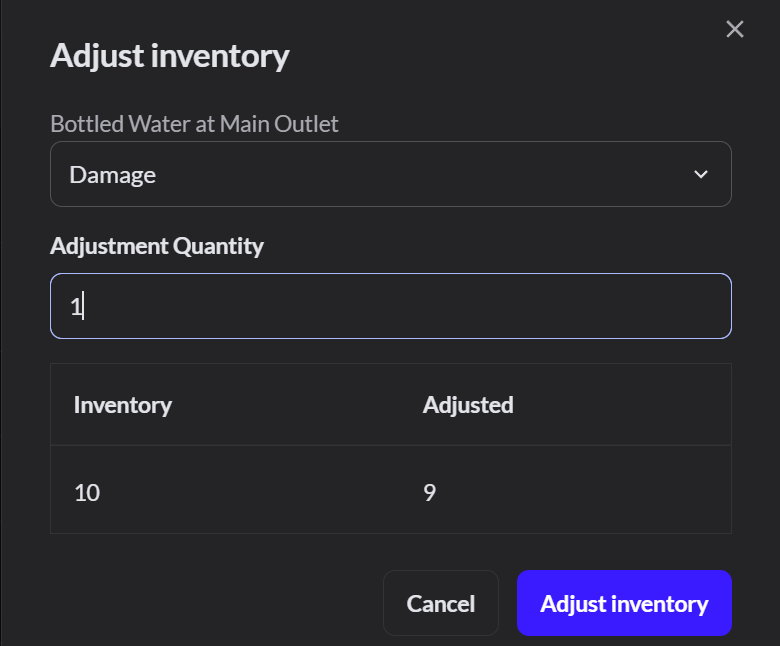
- Choose the Outlet and click Next.
- Choose an Adjustment Reason, such as Damage or Stock found, and type the Adjustment Quantity. The box shows the stock before and after.
- Click Adjust inventory.
To see every change to a product's stock, click View inventory movements instead.
To add reasons, go to Catalog › Adjustment reasons and click Add reason. For food thrown away in Restaurant mode: How to record waste